Welcome back! Today we’re going to be starting a series about my homelab adventures and exploring some of the lessons learned, thoughts behind it, and how I’ve put these technologies into practice to make my life easier and more secure. We’ll start with the basics: What’s a homelab and why did I start making one?
A homelab is usually considered to be computers or electronics (routers, firewalls, networking for instance) that a person would use to self host software, test new software/applications, and keep their skills sharp. It’s important to note however that a homelab can be a wide range of hardware/software so it can be difficult to nail down an exact definition. Someone could be running a Raspberry Pi as a DNS server while another could be running enterprise server hardware in their basement. It’s really up to you, your plans, and budget.
I started my homelab adventures back in high school running an Ubuntu server with a LAMP stack to do website hosting. As I’ve gotten better hardware and new skills my homelab has evolved too. Going from a single dedicated server to a virtual machine host running VMWare ESXI free all the way to my current set up with a Proxmox cluster and a variety of small desktop PCs running services.
Hardware is going to be important for the direction of your homelab and how much you want to spend. Keep in mind: an older system may be cheaper but could potentially use a lot more power.
Here’s some hardware recommendations based on my own experiences:
- Used Dell servers are cheap and usually reliable. I run a Dell R640 as the main VM host on my network and was bought for sub $400
- Raspberry Pi’s are one of the main go-to’s for their low power usage and cost but their prices have been getting to be a bit much with some of the newer Pi 5’s going for over $100
- Lenovo and Dell Small Form Factor (SFF) or Ultra-SFF/Mini PCs are both efficient and not super expensive. A Dell Optiplex 3070 SFF with a 6 core i5 can be found for 150 bucks with expansion for NVME and two SSDs in the 3.5″ tray
- Older Macbooks or laptops can make small and sometimes powerful little servers. Couple this with a battery and you have your own built in battery backup should the power go out
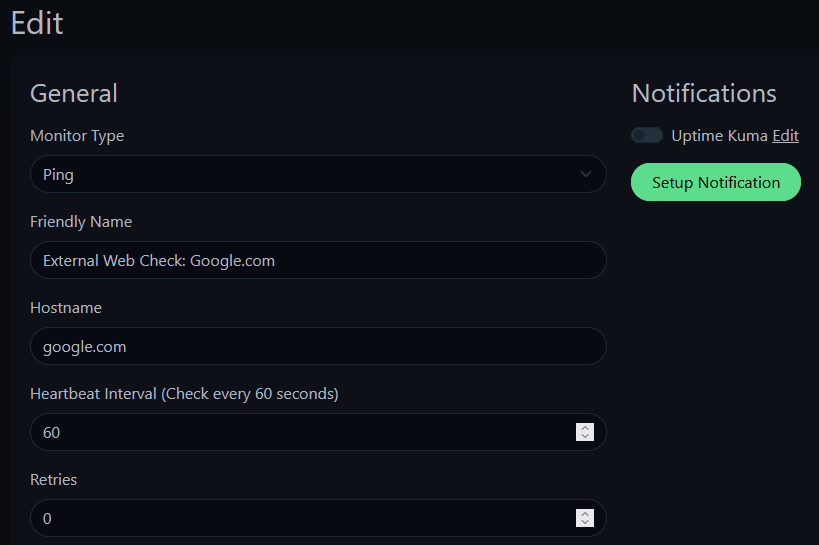
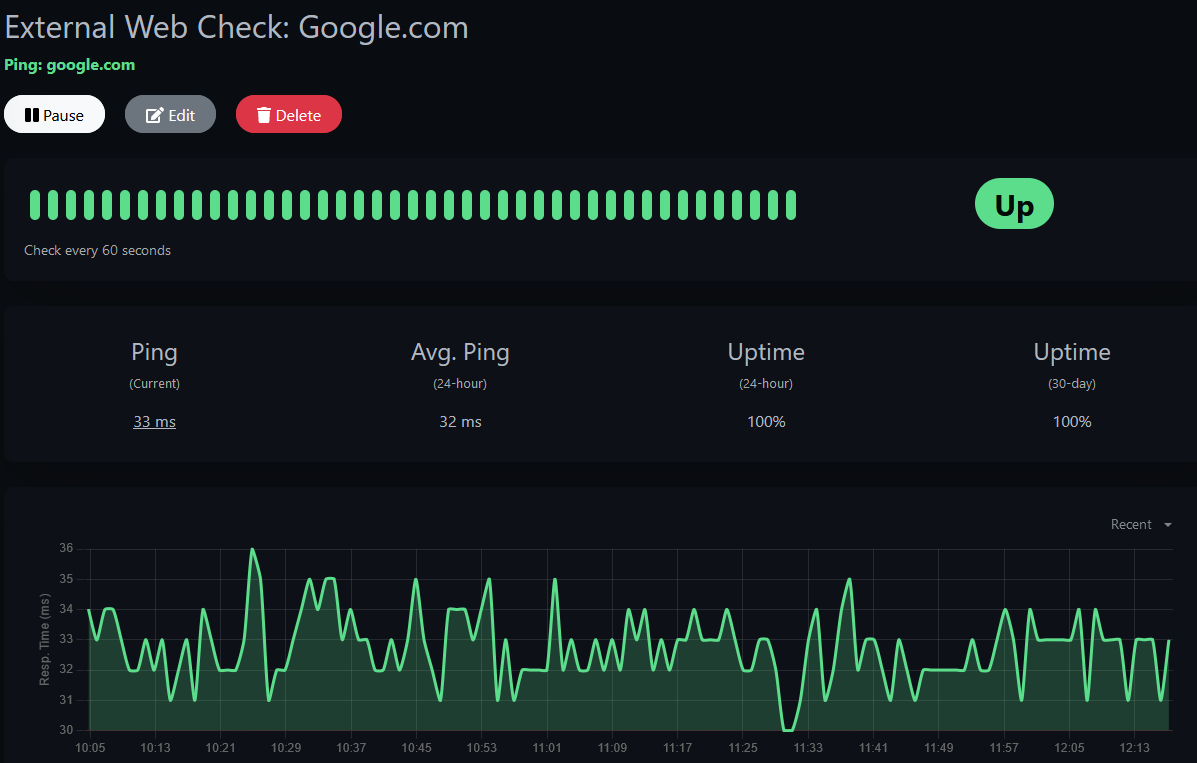
For software I tend to go for Linux and free open source (also known as FOSS). The vast majority of my environment is running some flavor of Linux which I’ll deep dive into more at a later date. I run Ubuntu for most of my stuff with FreeBSD (pfSense) and unRAID’s Slackware making an appearance. My hosts currently are running Proxmox in a small cluster though I was running the free version of ESXI in the past. On these Ubuntu hosts are running such things as docker, multiple of tools for network monitoring (Zabbix, Graylog, UptimeKuma) and services such as Nextcloud and Bookstack. I love the idea of free open source software so I tend to lean into this for the majority of my set up.
What are some of the long term lessons and experiences running all of this? Well, there’s a lot. One of the biggest lessons is the PLAN before making big changes. Having something to fall back on when things go hay-wire is a wonderful skill for both home and production; A summary, plan of execution and a plan for when it all goes wrong.
The second lesson: document everything you do. I use Bookstack as a personal and homelab document server. I try to update everything I do so I can reference things later (last update, last modification to config, etc) and also look for patterns if there’s issues (such as an intermittent drop of network hardware). I even have quick reference cheat sheets for things such as Linux and Proxmox notes and things I often reference from online. Having good documentation skills will help you immensely as your homelab and skills continue to grow.
I hope you’ve enjoyed the read! I’m planning a series on my homelab adventures in the near future and will continue to update as time allows, so please check back. Hope to see you again!


